
*Updated 4/20/24*
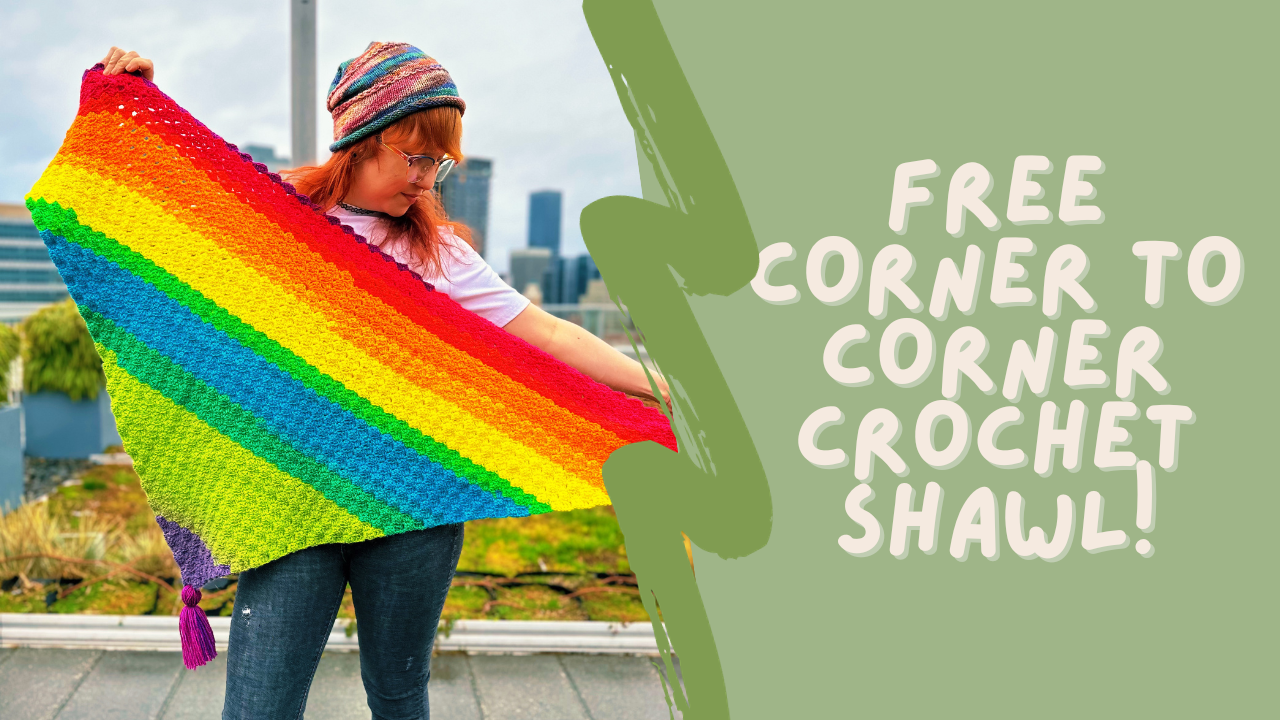
Hi pals! Welcome to todays free crochet pattern, my Corner 2 Corner Triangle Shawl! If you're new to Corner 2 Corner, also known as C2C, it's a fun crochet technique that starts your project with a double crochet cluster as your corner, and you work outwards increasing at the ends of each row as you go, creating a triangle shape. Once you get to your desired height and width, you can start decreasing.
I have a full written tutorial here, and a video tutorial here to help you out.
Project Supplies
- 5 mm crochet hook
- Approx 1181 Yards of 3/DK weight yarn (Lion Brand Mandala Bonus Bundle in Gnome Shown)
- Tapestry needle
- Scissors
Finished Measurements
45 inches from bottom corner to top corners, by 65 inches across the top.
Ravelry & Pinterest

Pattern Notes
- Please read all notes and directions before starting the pattern.
- Chain stitches at the beginning of each round do not count as a stitch.
- I do a ch 1 instead of a ch 2 at the beginning of each row/round with a hdc because I prefer that look better. You can do a ch 2 if that works better for you, but still do not count it.
- Stitch count for each round will be at the end in ()
Abbreviations
All patterns follow the same abbreviations as the Crafty Yarn Council.
ch
Chain
dc
Double crochet
slst
Slip Stitch

Pattern Directions
Gauge
- 5 ½ Squares X 5 ½ Rows = 4 inches
Shawl
- Row 1 -
- Step 1: Ch 6
- Step 2: Dc into the 4th chain from the hook
- Step 3: Dc in the next 2 chains (1st square made, and first row now contains 1 square)
- Row 2 -
- Step 4: Ch 6
- Step 5: Dc in fourth chain from the hook and next 2 chs
- Step 6: Skip the next 3 dc, then slst into the space created by ch-3 at end of tile (1st square of row made)
- Step 7: Chain 3 quite tightly
- Step 8: Dc 3 in same space, turn. (2nd square made, row now contains 2 square)
- Row 3 - 63:
- Repeat steps 4-8 to begin each row. As rows increase in number of tiles, repeat steps 6-8 in each remaining tile of row.

Finish off and weave in the ends.
I recommend steam blocking this to straighten out the lines of the edging, but that is totally optional. (I recommend steam blocking acrylic to give it a little more drape, and it dries much faster than wet blocking. But either works just as well!)