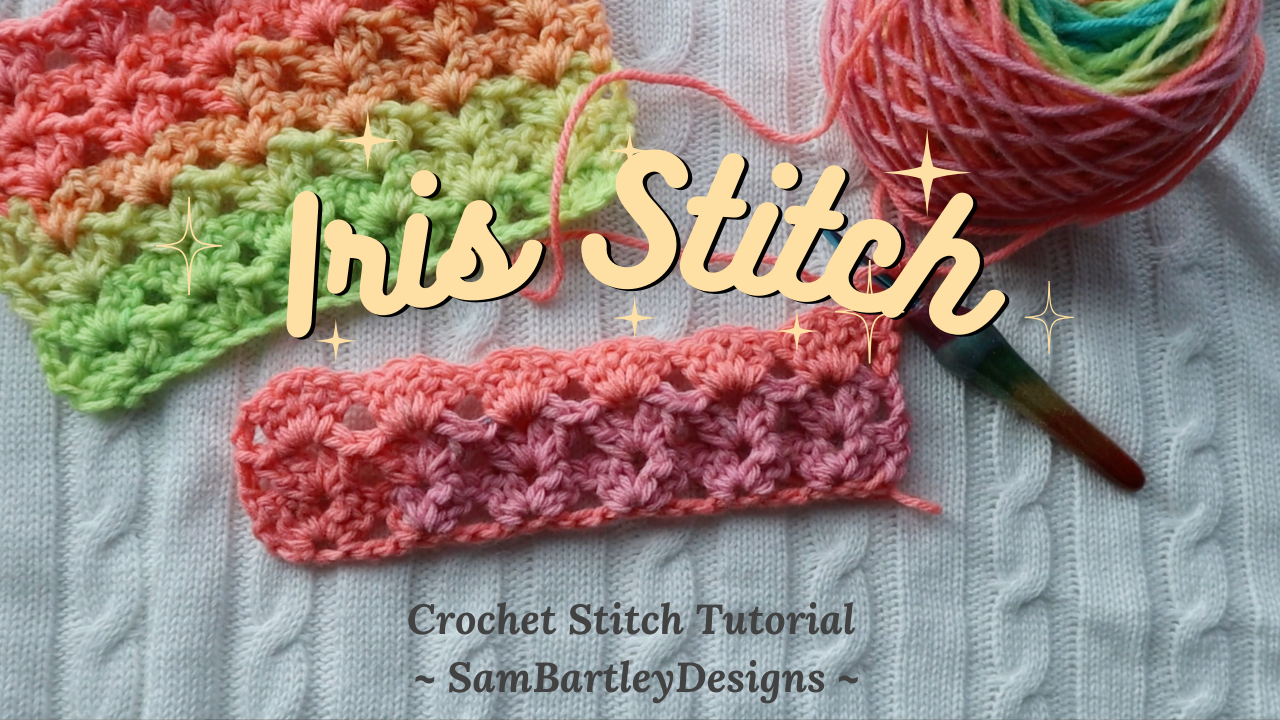
Hi pals! Today we've got the Crochet Iris Stitch Tutorial written out for you down below (with photos!) or if videos are more your thing, it's up on YouTube and ready for you to check out!
The cardigan features the crochet iris stitch along the back and shoulders of the cardigan and has such a pretty texture, I just can't handle it. I think I am going to whip this up in a striped version too, but we will see if I have enough time. :)
This is a great stitch for scarves, cardigans, cowls, beanies, washcloths, it's WILDLY versatile. It's made up of double crochets and chain stitches and if you know how to make a double crochet you can make this stitch.

Anyway, go check out the crochet iris stitch tutorial and let me know what kinds of stitches you want to see next!
Written Pattern
Abbreviations: dc = double crochet - ch = chain.
Chain in multiples of 4, + 3. For this example I chained 24, plus 3, for a total of 27 chains.

In the 5th chain from the hook (counts as first DC and chain 1), place *2 dc, ch 1, 2 dc*

Skip 3 stitches, in the 4th stitch place *2 dc, ch 1, 2 dc*

Repeat * to * across, dc in the last stitch. Chain 3.

Turn your work. In the first ch 1 space place *2 dc, ch 1, 2 dc*

Repeat * to * in each chain 1 space across. Dc in the last stitch.

Chain 3 and turn your work. Repeat the previous row as many times as you want to reach your desired length.

Happy crocheting!!