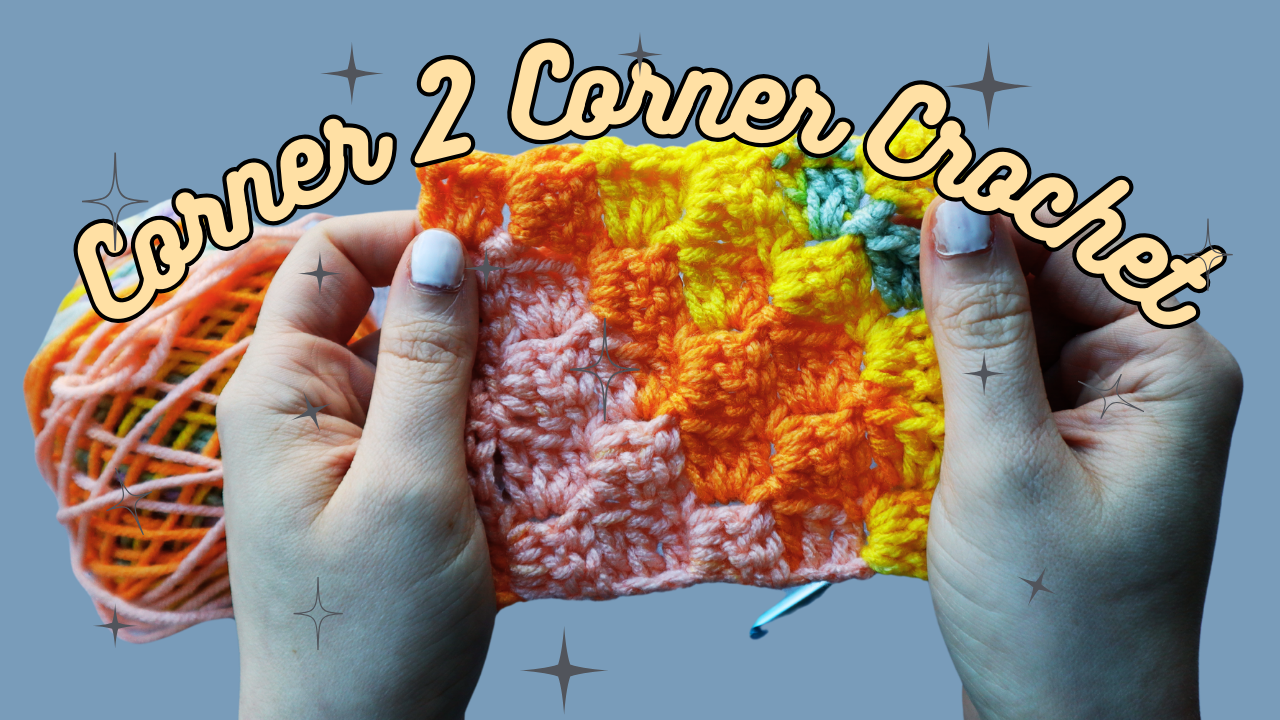
Hi pals, welcome to this weeks blog post! Today I am showing you my corner 2 corner crochet tutorial. In this one I show you how to increase your corner, and decrease, so after that it's up to you! (Meaning if you want to add a border or tassels or fringe or nothing at all to the project you're making, it's all your choice!)
Corner 2 Corner, also known as C2C, is one of my favorite crochet techniques to create something with texture quickly and without being a total yarn eater. It's great for blankets, shawls, wash cloths, hats, scarves, fingerless gloves, or really anything you can make out of a triangle, square, or rectangle.
Oh, and if you're looking for an intro pattern to test out your new skills, check out my Corner 2 Corner Shawl pattern! It's free and super quick, plus it is just increases so you don't even have to worry about decreases on this one! It uses one skein of Lion Brand Mandala Bonus Bundle, or two cakes of regular mandala, or about 1200 yards of a light worsted/dk weight yarn.
Alright, here is the video tutorial, and keep scrolling for the written/photo tutorial below. I appreciate you!
Corner 2 Corner Crochet Tutorial
Row One:
- Step 1: Ch 6
- Step 2: Dc into the 4th chain from the hook
- Step 3: Dc in the next 2 chains (1st square made, and first row now contains 1 square)


Row Two:
- Step 4: Ch 6
- Step 5: Dc in fourth chain from the hook and next 2 chs
- Step 6: Skip the next 3 dc, then slst into the space created by ch-3 at end of tile (1st square of row made)
- Step 7: Chain 3 quite tightly
- Step 8: Dc 3 in same space, turn. (2nd square made, row now contains 2 square)


Row Three:
Repeat Steps 4-8 (Row 2) until desired length.
Decreasing: (the video also shows how to do this through the end of the square.)
When decreasing, work your last row, and instead of chaining 6, ch1. Turn your work, slst across the top of the next 3 stitches. Ch 2, and make your squares as you did in the previous rows. Once you get to the final square, slst to the top, turn your work, and repeat.


After you complete your square you can leave it as is, block it (steam works well for acrylic without needing to let it dry for 47 years like you do with wet blocking), add a border or tassels or fringe, but you have completed your tutorial and I hope you learned something fun today!