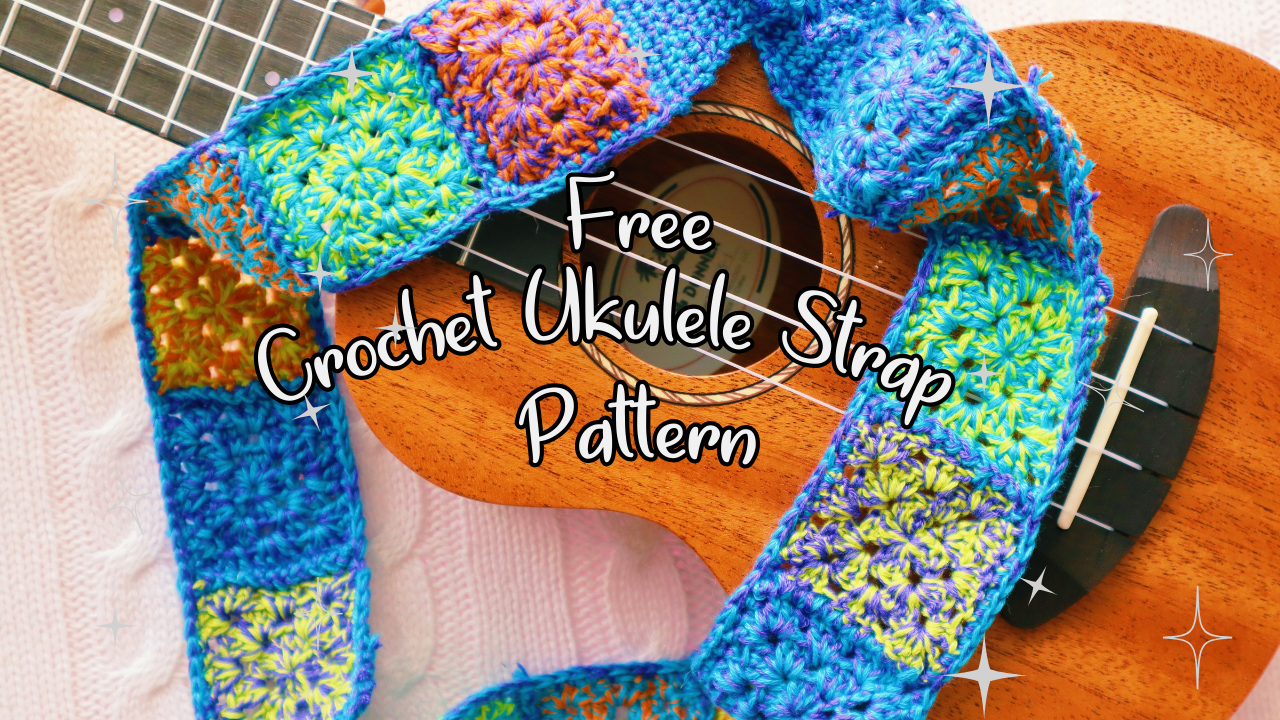
Looking for a ukulele strap crochet pattern that only takes a weekend (or less) to put together? Look no further than my newest design! My partner got me a ukulele for my birthday this year and I have been having a blast learning how to strum and play chords and I can even get the first part of one of my favorite songs out!
The only downfall was my silly strap the ukulele came with. It's cute enough, but scratchy and it doesn't really fit around me properly. So instead of buying a new one, I just decided to make one, because I am a maker and that's what I do.
I originally made a pink and purple one, but I just didn't really care for how simple it was, and those colors didn't really vibe with my energy. SO I had some left over size one weight yarn in 4 colors and decided to pair two strands together and crochet a few small granny squares. After I made 3 I realized this was exactly what I was looking for and now we have a new pattern!

Alright, it's time to get to the actual pattern . :) Grab your hook and yarn (AND READ ALL OF THE NOTES BEFORE YOU START) and then let's get started!
Ukulele Crochet Strap Pattern

Items needed
- 2.25 mm crochet hook (or whatever size gets you an approx. 2 inch granny square)
- 4 balls of size 1 weight yarn
- Tapestry needle
- Scissors
Abbreviations
| Ch | Chain |
| DC | Double Crochet |
| MC | Magic Circle |
| SLST | Slip Stitch |
| SC2TOG | Single Crochet 2 Together |
Notes
- This ukulele strap crochet pattern ends up being about 34 inches long because that's how long my reference strap was. If you need it longer, say for example you wanted to make bigger granny squares and make a guitar strap, or shorter for a smaller instrument - just remove or add more granny squares until it's the right length. Note that the ends add about 3/4 of an inch or so to the length, so be sure to add that into your measurements.
- This design is made up of granny squares that are seamed together, crocheted around the entire outside, and then decreases are added to each end to wrap around the buttons on the Ukulele. I have linked the tutorial for them as well.
Granny Squares
Make 15 2 inch granny squares. Pattern, tutorial, and video tutorial for those can be found here.
Seaming
After weaving in all of your ends on your granny squares and blocking them (not required obviously, but highly recommended) Zig Zag Slip Stitch each square to each other in a long straight line.

Ends
Once you have seamed all of your squares together in a row and weaved in your ends, you will attach the yarn into any of the corners and make 3 sc in the corner. Single crochet in each stitch all the way around the strap placing 3 single crochets in each corner.
Once you get back to the first stitch, slst together and DO NOT CUT YOUR YARN.

Row 1 - Chain 1, and single crochet in each stitch across the top of the strap, should be around 12-14 stitches.
Row 2 - Chain 1 and turn your work, then single crochet back across.
Row 3 - Chain 1 and sc2tog. single crochet across until there are two stitches left, sc2tog. Ch 1 and turn.
Row 4 - Single crochet across. Ch 1 and turn.
Repeat rows 3 and 4 until you have 6(ish) stitches left.
Chain 18, sc in the second chain from the hook and back in each stitch up the chain. Slst to the body of the strap, single crochet across the strap (6ish stitches) then chain 18 again, and single crochet in the second chain from the hook and back down the chain. Slst to the body of the strap and finish off. Weave in your ends.
Repeat the entire process, attaching your yarn to the opposite side, and starting with row 1, on the other side.
